- Step 1: Hand Washing
- Step 2: Clay Bar
- Step 3: Buffing with Compound
- Step 4: Polishing with Polish
- Step 5: Protective Layer
- Wax:
- Sealant Wax:
- Ceramic Coating:
An exterior detail is essentially a super deep clean of your clear coat. If you have swirls and surface-level scratches, it will remove them. If you have deeper scratches, an exterior detail will help blend them in more, camouflaging them from inexperienced eyes. Sadly, things such as chips, cracks, and what is known as “crows’ feet” can only be fixed through restorative detailing. But how does the process work, and why does it work?
Step 1: Hand Washing
Handwashing a car, rather than sending it through an automatic car wash, is much better for your paint. Automatic carwashes are the number one perpetrator for swirls and scratches due to debris getting stuck in the rollers. Handwashing allows a detailer to remove any loose dirt before scrubbing the surface, leaving less room for damage.
Step 2: Clay Bar
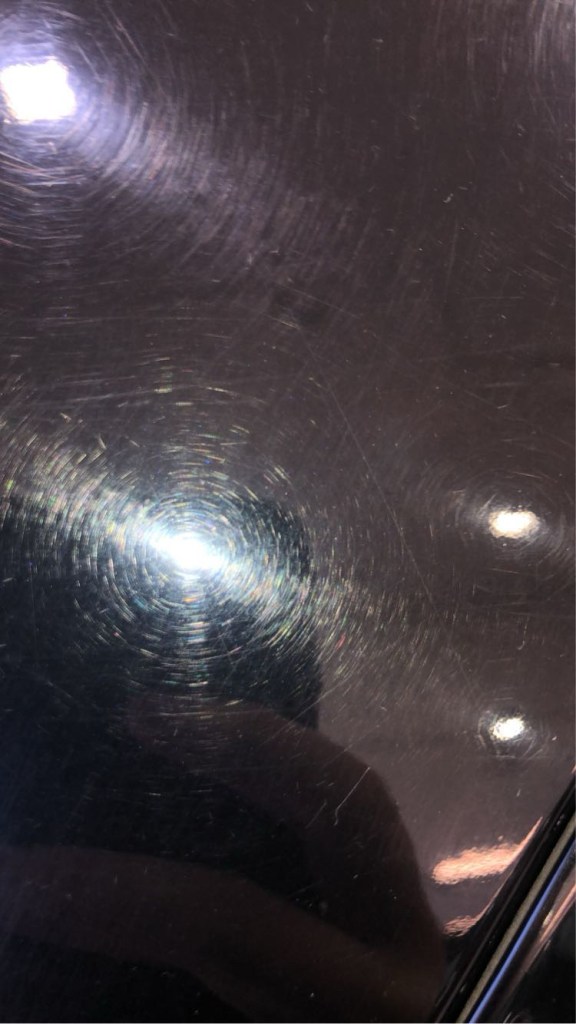
There are a few different products that are used for this process. There are clay pads and an actual clay bar, but the function is the same. Using this alongside some lubricant, it pulls out any embedded contaminant from the paint. This can be dirt, railroad dust, and iron deposits. smoothing out your paint. If you have never gotten an exterior detail before, gently rub your fingers on a clean part of your car. That gritty feeling is the contamination; once a clay bar is used, it turns smooth.
Step 3: Buffing with Compound
Buffing is an aggressive process, using a very fine grit to heat the clear coat and refinish it. This is usually only recommended for paint corrections, since it is done every time you do it, it thins out the paint. For all my girls out there, it’s basically exfoliating the paint, removing all the dry clear coat to uncover the shiny part underneath.
It is very finely sanding your car, removing the dull clear coat to uncover the next level. With deeper scratches, the ones that go into the paint layer, it evens out the gap between the top layer and the bottom layer, creating an illusion that it is the same level.
Step 4: Polishing with Polish
Polish is an even finer grit than compound. Due to the aggressive nature of buffing, it can leave behind some hazing, leading it to seem less shiny. Polish is used to correct that, and any swirls that may have been made during the buffing process. This skims the clear coat and is used to gently shine up the paint. This is the part that makes your car shine and sparkle.
Step 5: Protective Layer
There are three different ways to protect the work of the paint: wax, sealant wax, and a ceramic coating.
Wax:
Wax is the simplest option of the three, offering less protection. It is applied on the car, then wiped off, leaving a hydrophobic layer, protecting it from rain and UV rays, which lasts around 1-3 months.
Sealant wax:
Sealant wax is a step up from regular wax, adding the same value, but it lasts around 3-6 months with proper maintenance.
Ceramic Coating:
Ceramic coating is the most premium protectant that you can get on your car, usually amounting to at least $800. It is a polymer applied to every surface of the car, protecting it from chemicals, chips, UV rays, and repelling water and dirt. Depending on the brand and your maintenance, it can last up to six years, making it worth the investment. I would advise only getting this service if your car is five years or younger, since it is very expensive and wouldn’t match the investment. The one exception is classic cars.
Exterior details can be very expensive, but they often require an immense amount of labor, which should take about six to ten hours to do. Protecting your paint from the harsh outdoors will allow it to shine continuously and retain a good resale value, and it’s just nice for your paint to look nice!

Leave a comment